
MECA cup1 pedals Review
It seems like the sim racing world is getting lots of great choice these days when it comes to mid to high end load cell pedals. With that in mind, it can be extremely difficult to differentiate yourself in a relatively crowded market, and these pedals look impressive and on paper and their 200kg load cell definitely grabs people’s attention. I’ve been using the Meca CUP1 pedals for the past few weeks for all of my league races and practice and today I’m delighted to share my thoughts with you. I’m Laurence, welcome to the channel.
(intro)
- Introduction
On the left you’ll see all the sections in this video. I’ve put timestamped links to each section in the description below. While you’re down there please hit the thumbs up button to help YouTube to suggest this video to others like you. 70% of the people who watch my videos are not subscribed. Please consider subscribing and hit the notification bell if you want to be notified about upcoming reviews.
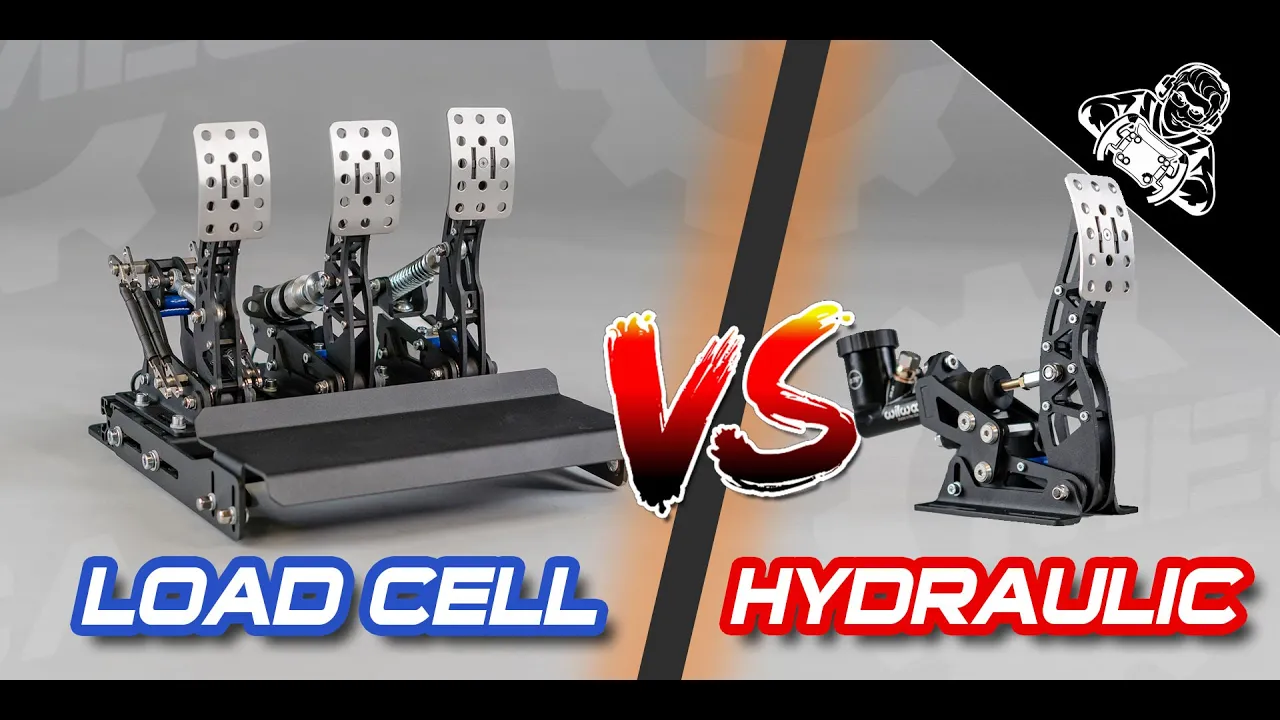
Most sim racers are in agreement about one thing; the load cell brake is the best value sim racing upgrade that you can make. Load cell pedal sets start from around 250euro, but as with all things sim racing, your imagination and your wallet are your only real limits.
- First Impressions
Well, just look at them. They’re absolutely beautiful, in my opinion. The colours used and the precision of the parts really appeals to me. I love to look at my sim racing hardware when I walk past my rig or have real life things to do. These pedals just look amazing on my rig. The weight of the unit and the quality of the materials used suggest that no expense has been spared in the manufacturing and quality control process.
I think that the pedal faces may not be to everyone’s taste. Not necessarily the finish on them, but the perforations may be a little bit busy for some, and others will love that they look like they have come from a real race car. The pedal mechanisms are intricate but robust. I cannot imagine the number of hours of research and development that has gone into this product.
The way the cables from the pedals all gather into the leo bodnar control unit which stands proud on a dedicated mount behind the pedals, is very clever and makes these pedals instantly identifiable. They’ve taken the problem of hiding the electronics and made it a centerpiece on an already visually impressive piece of equipment
- Build quality
It’s quite evident though that the finish and materials used are top quality. From the metal connectors to the finish on the 3mm thick laser cut, bead blasted pedals. From the 8mm thick base plate and the 200kg load cell, this pedal set oozes quality. The swivel and sliding bearings are made from bronze using technologies found in the real automotive industry.
All 3 pedals rely on load cell and it uses a Leo Bodnar 16bit load cell interface to translate as much clarity as possible from your foot to your sim title. The overall design seems to cater well for all possible uses and applications. There’s great adjustability in all of the pedals themselves, and the base plate is really really nice. I never imagined I’d get so excited over a base plate. It’s seriously heavy, and beautifully finished. It takes all the worries of flex out of the equation.
When I used the pedals first, I did notice that they brake pedal face had not been secured properly and was coming loose. This was quite funny on my live stream but a little bit embarrassing. I had to tighten it myself and since hand tightening it, I’ve had no issues at all.
The throttle spring makes a lot of noise, as you can see and hear in the video. Again, it’s a simple case of applying some lubricant to the spring but I think that this problem can be solved without having to spray grease on these beautiful pedals. I’d like if they address this issue.
- Price
At 770euro / $880, these pedals are not within the budget of every sim racer. They’re firmly within the range of the Heusinkveld Sprints, which I reviewed a few months ago. I’ll do a head to head comparison of these two in a future video.
The pedals are manufactured in Europe. Czech republic, to be exact. From my communication with them, their English is absolutely perfect and they were a real pleasure to communicate with. The materials they’ve used and the amount of work gone into these pedals makes this overall package extremely good value and I would highly recommend them to those who can afford them.
- Installation – Hardware
Building these pedals was quite pleasant. Each pedal came pre-assembled, which I’m very thankful for. It was simply a case of bolting everything together. The pedals themselves mount to the base plate with these guided bolts which slot into the horizontal grooves in the base plate. That means that when you want to adjust your pedals, you don’t need to touch the underside of the base plate, which is especially useful when dialing in your pedal setup for the first time.
The electronics, rather than being hidden away, are presented on a pedestal at the rear of the product. The leo bodnar wizardry lives inside a 3d printed housing which is clearly labelled and exposes 4 ports, one for each pedal and a USB-B port for PC connectivity. I really like how they’ve taken something which is often an afterthought and mounted it so elegantly. Again they’re showing that real effort has gone into the design and use of this product.
Mounting the base plate to your rig is simple, provided you have the mounting holes. they seem to have opted for a fairly standard pattern as my Simetik K2 rig, which was designed long before these pedals, and the base plate mates to it perfectly. The bolts are massive m8 bolts and they are countersunk to give a really nice finish. The ability to slide the pedals backwards and forwards on the base plate was a life saver here, as it meant that I didn’t have to bend over backwards to get the right pedal position. It also allowed me to experiment with different pedal positions for heel-toe and two pedal applications.
- Installation – Software
Meca does not provide any software with this unit. It does work out of the box, but requires some calibration. You need to firstly calibrate it in windows. This works fine and the pedals work as expected, however, they register constant input. This was a pain when trying to for example, assign a control in a game, the constant phantom pedal presses were blocking me from assigning the control I actually wanted to assign. However, this can be solved by using DIVIEW, which is commonly used by hardware like this, especially DIY applications. This software allows you to do a lot, but it was horrible to use. Even the instructions from Meca themselves contain wording like: Subtract the min number from the max number, divide the answer by 2. Then add the min number. This is your center calibration number. I just want to set a dead zone on the pedals.
I found this very off-putting. It’s manageable and you only need to do it once, but it’s a lousy experience and for a consumer product, I expect more.
- Pedals – Clutch
The clutch has an intricate mechanism which simulates a bite point. Out of the box it’s very sporty, similar to that of a capable race car. It has barely any travel before releasing and takes some getting used to. I always give products a test with the default settings before I start messing with settings, and although I was convinced that I would be adjusting the clutch bite point, I got quite used to it and actually grew to like it. It’s nice to know that the adjustment is there though.
- Pedals – Throttle
The throttle has a great throw and is also easy to adjust. It doesn’t have as much weight as i’d like in its default form, and even after I adjusted it, it was slightly lighter than I like. It’s easy to get used to though and truth be told, I had no issues driving any cars, even those with a very sensitive throttle. Like the other two pedals, this uses a load cell. It’s very consistent, smooth and predictable.
- Pedals – Brake
This is the big one. Literally. Many of you are only here because you heard that it has a 200kg load cell. Firstly, the brake is great. It’s confident and has a nice throw. The progression can be good, provided you find the right combination of dampers. This brake in this configuration is among one of the best I’ve ever used.
And the question that everyone wants to know, do you need a 200kg load cell. Well, in short, no. I don’t. I do know that some real life race cars require a massive amount of force but 200kg is more than i want to have to exert every time I approach a hairpin. However, that’s not the point here, and more importantly, you will never need to put 200kg of force on these pedals as they make use of leverage principals to press the load cell. Pretty much every pedal set does this. My honest opinion is that although it makes for great pub talk, anything over 60kg in a load cell is somewhat wasted on me.
Another train of thought suggests that the more force range your load cell has, the less clarity you get through your 16bit controller. Although in my limited testing, I didn’t see any such shortcomings. I’ll be honest, I have pretty strong legs and I’m a big guy, but I was running this brake at about 40% of its potential, if not less.
You get several polyurethane dampers in the box, and it can accommodate the hardest and softest requirements. Black is softest, Orange is hardest and blue sits bang in the middle. Adjusting the brake is very simple and takes about 2 minutes to do. Simply loosen the bolt at the back of the brake until the pedal upright becomes free. Then you are free to slot on and off whichever strengths you want. I must say that although most of the footage in this video shows the poly dampers in a certain configuration, I simply had that setup in order to take my footage. The setup that I liked the most was this progressive setup of black, blue, orange, with black, the softest, being closest to my foot.
The brake comes with a spare brake pedal face, but I didn’t feel the need to use it. I think it’s more suited to a two pedal setup and all in all, I couldn’t see myself ever using it.
- Final Thought
In summary, I really like this pedal set. It’s actually the most well rounded pedal set I’ve ever used. It’s not cheap, but those who spend this type of money on pedals never regret it.
They look amazing and perform incredibly well once set up. It surprised me that the software setup was more difficult than the hardware setup. I had a loose pedal face and squeaky throttle spring as I mentioned earlier, but these are all relatively minor issues. The confidence that this setup gave me on the brakes from my very first lap with them was fantastic.
So you don’t need a 200kg load cell. I also don’t need a 300hp car, but it’s fun to say that I have it. However, I use more of my 300hp than I do of this 200kg load cell. I invite those with more expertise than I have to comment on the size of the load cell, but for me it seems like a bit of a waste. I don’t want that to detract from this amazing product though.
It surprises me that a small company in Czech republic can produce something with such a world class finish. This product is on par with the big companies in many ways. The hardware is extremely user friendly, but the software is lacking.
I’m sad that I need to send these back. So much so, that I’m considering buying them. I’d love to hear your impressions in the comments below. Thank you all so much for watching and subscribing, I’m Laurence and I’ll chat to ye later.