
SIMFORGE Pedals Review – MARK-1 Dark Edition
Product link: https://simforge.in/shop/
The sim racing market is relatively straight forward. In general, the more you pay, the better the hardware is, on paper at least. Well this is a concept that we need to begin to unlearn as we see more and more products being released at lower prices than ever before. This is the Simforge Mark-1 3-Pedal Dark Edition. It is a well engineered, well thought out product which punches far above its $399 USD price tag.
I have spent the past few weeks with these pedals and am delighted to bring you my long term in depth review of these surprisingly good pedals. I’m Laurence, welcome to the channel.
(Intro)
- Introduction
On the left you’ll see all the sections in this video. I’ve put timestamped links to each section in the description below. While you’re down there please hit the thumbs up button to help YouTube to suggest this video to others like you. 70% of the people who watch my videos are not subscribed. Please consider subscribing and hit the notification bell if you want to be notified about upcoming reviews.
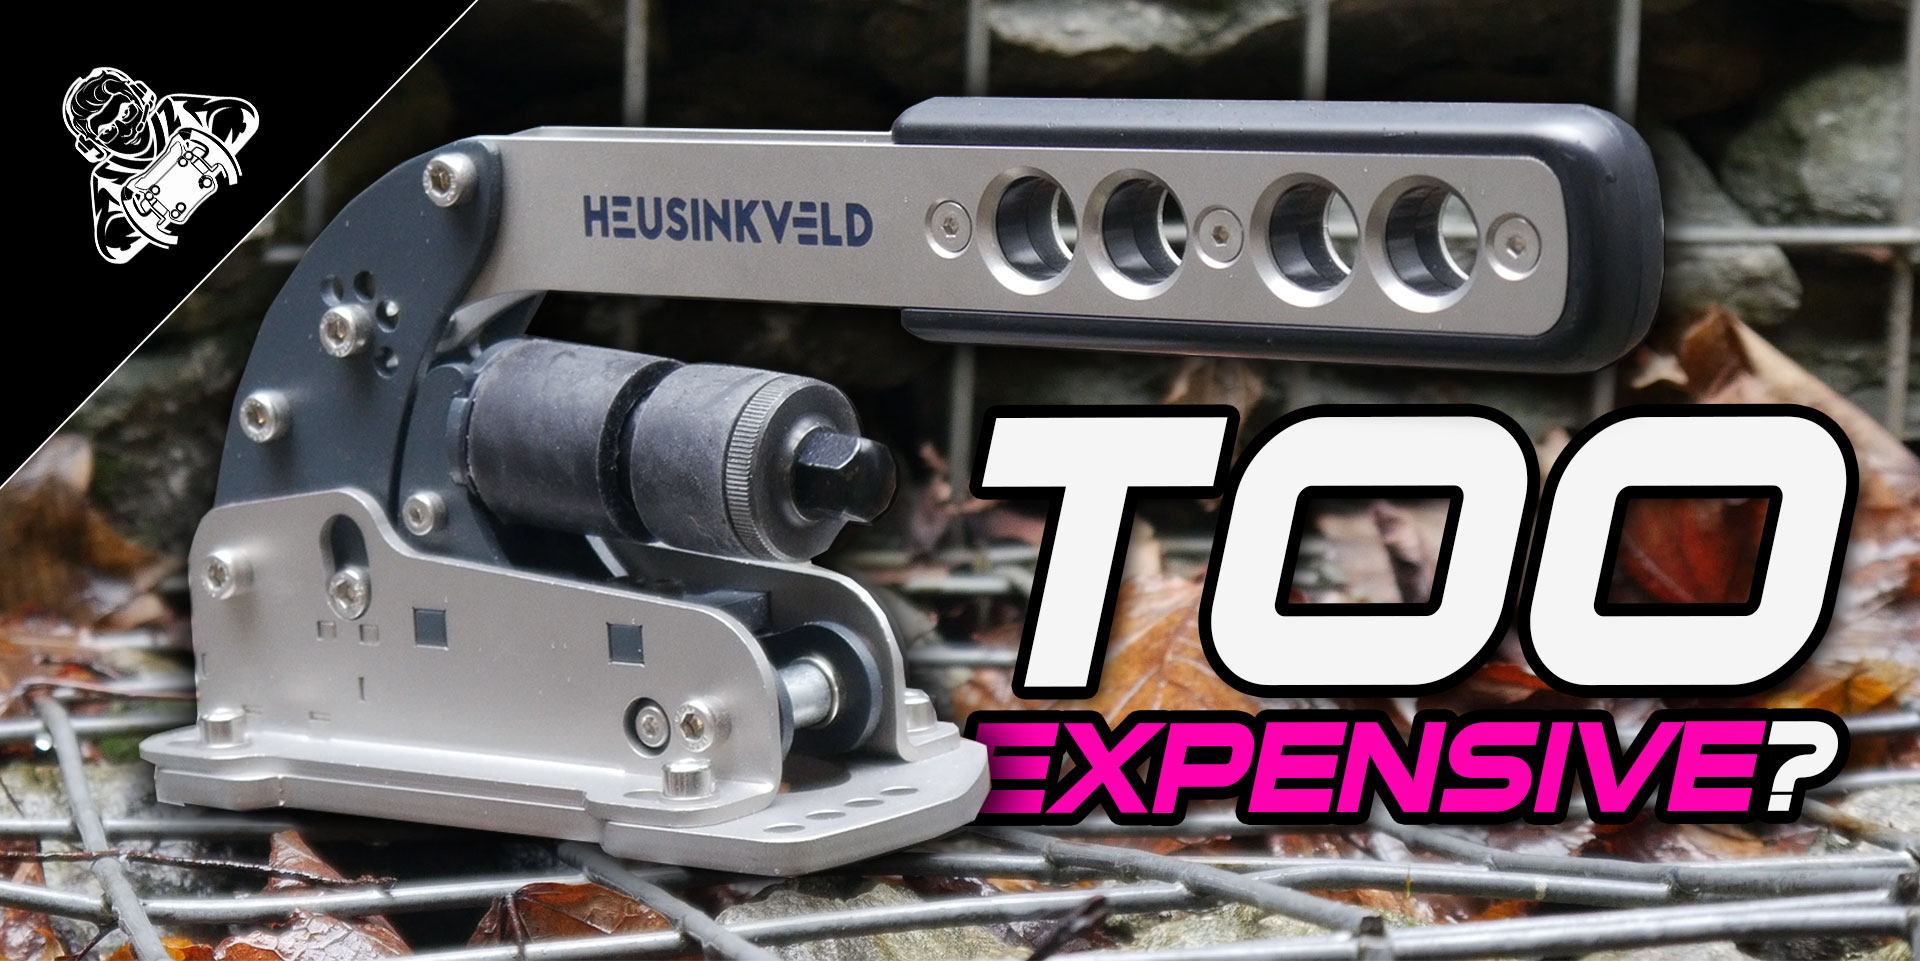
These pedals are the brainchild of a company called Simforge who are based in India. Their goal is actually relatively simple. Provide a more affordable high end pedal option for the people of India. For perspective, a set of high end Heusinkveld pedals could cost you about 4 months of salary in India. This means, quite simply, that most sim racers in India would never own such a set of high end pedals if it wasn’t for Simforge.
These pedals are the black version and the silver coloured version is actually even less expensive. However, black and red is such a winning combination and this high quality finish really makes these pedals quite striking.
One extremely important note is that this is a constantly innovating and improving product. The product that you will receive may already contain fixes or solutions for any issues or potential improvements that I may mention in this review. In fact, throughout this review I received updates and even new hardware to help to get it to the standard at which it is today.
- Price
It’s hard to ignore the fact that these pedals are available RIGHT NOW for only $399. However, that’s before shipping, which is around $80 and also before taxes or import duty. For those of you looking for a final price, if you order from Simforge directly, you’re likely to pay import/customs fees of about 20% of the cost of the pedals including shipping, not to mention any other administration fees from the courier and customs. So your $399 pedals could quickly become $599 pedals. Similarly, once global distributors are finalised, we’re likely to see greatly reduced shipping charges and no import or customs fees, but the dealer needs to absorb those costs and still make a profit, so again, realistically, I see these pedals being around the $550 – $600 mark regardless of which way you purchase them. I feel that this is very important information which is often not clear when we are wrapped up in the hype of a low price tag.
However, we need to look at what we’re getting for the price. Everything you see attached to the pedals shown here, is included. The base plate, the profile, the mounting hardware and even spare elastomers. If you asked me to describe a $600 high end pedal set, I wouldn’t have described what you see here as quite honestly, I’d expect to pay almost twice that.
We’ll get into the features in more detail in later sections, but this product is exceptionally well priced, even after you take potential customs and import charges into account. I actually find it difficult to believe that they make a profit on these pedals.
- First Impressions
My first impressions of this product were extremely positive. The quality of the main materials and attention to detail was very clear from the very start. Some materials did make me think at first, like the 3d printed parts in the pedals. But those parts don’t carry any load at all, so it does make sense. Then there’s the hose pipe that has been used as a pedal bump stop. This is obviously a cheap way of producing this part and I really love that thinking. Why reinvent the wheel? The cost savings are passed directly to the consumer.
The instructions were quite clear and intuitive and the assembly and installation went fairly well. The things that were somewhat frustrating were the load cell wiring which is a very manual process. This is being changed to a simple plug for future pedal sets but this hard wiring made maintenance a bit of a pain as any adjustments were a bit tedious. Once the load cell is connected, you cannot move the control board very far away from the brake pedal. I don’t like having to climb under my rig to make adjustments. All of my awkward adjustments eventually caused my brake to stop working as the constant bending of the wires caused one of them to snap. I rewired the load cell and it all worked again but if I could have just plugged the load cell out then that would never have happened. The good news for you though, is that Simforge have acknowledged this as an issue and will be providing all future pedal sets with a simple plug and play cable, rather than a somewhat frustrating manual wiring process.
Calibration is done using DIview, but depending on your sim, you can skip this tedious step in my opinion. Some sims completely ignore DIView, so If you’re using assetto corsa or iRacing, I would skip the whole DIView step completely and just calibrate the pedals within the sim.
The grey cables for connecting the throttle and clutch to the circuit board are a bit dated looking. I have been told that from now on the cables will all be black instead of grey so this is not a concern for future buyers.
The base plate is a beautiful and clever piece of engineering. Well finished, extremely adjustable, yet sturdy. The base plate could be a product by itself. It takes the pain out of mounting pedals and would be an amazing addition to any rig.
The pedal faces are huge! They’re a really good size for any driver, regardless of whether you drive with shoes or without. I tried in both configurations. Heel-toe was very intuitive. The comfort level when combined with the base plate is better than any set of pedals that I have ever used.
From a usage point of view the pedals are set up in a very soft configuration from the factory. This is ideal for those who are coming from a low end set of pedals, but those coming from a set of Fanatec V3 pedals or better might at first be disappointed that they don’t feel very different in this configuration. Don’t jump to any conclusions though. The magic with these pedals is the extensive adjustability. I’ll go through each pedal in detail in a later section. But I was able to make these pedals feel every bit as good as any other high end pedal set I’ve ever used.
The throttle and clutch use 16-bit sensors and the brake uses a 24-bit sensor. Again this is quite unique and only found in the highest end brake pedals. It makes for a super sensitive pedal, which is a very good thing when trail braking and trying to find the limits of your grip.
- Installation – Hardware
As mentioned, assembling this hardware is a bit of work. Firstly, the base plate takes a bit of time to assemble. Once assembled though, adjustments are relatively easy. On the red part of the baseplate, I’d love to see the inner nut replaced with a welded nut. Right now, needing to get a spanner in there just to make an adjustment is a pain, especially if the pedals are already mounted to a rig.
Installing the pedals on the base plate is very straight forward thanks to these little winged t-nuts. They rotate when you tighten them and stay in place quite well. However, especially on the brake, ensure that you tighten them correctly as it seems that they don’t quite give the same level of hold as a regular t slot nut. Mine did come loose once, mid race. I tightened them properly and this issue hasn’t come up since.
Installing the base plate on the rig is incredibly straight forward. I did notice though that the supplied brackets are actually for a t-slot channel width that is different to that of my sim-lab p1-x rig. Luckily I had some spare corner brackets from my rig build. You could simply snap off the tabs on the Simforge brackets and they will work just fine then, but with the little tabs, you can ensure that the base plate is perfectly perpendicular to your rig, which makes installation that little bit easier.
You may need to ground the circuit board. When I initially received these pedals I was seeing lots of fluctuation in pedal inputs especially from the brake which is extra sensitive due to its 24 bit sensor. With lots of back and forth chats with Simforge they changed their design and the latest circuit board works a treat with no interference whatsoever.
if you do see pedal input fluctuation issues, I’d highly recommend getting a dedicated power supply. It’s a shame that power supplies aren’t provided with this set, as it would make the interference a non issue. You see, the circuit board relies on USB power to function. If this power supply is interrupted or not consistent for any reason, you can get fluctuations as shown. If you use a mains power supply, you can flick this switch to bypass the USB power and rely on a dedicated power source. This is incredibly useful and innovative. No other pedals that I have reviewed offer this functionality. Again, it’s just a shame that you don’t get a power supply with it.
Note that there are hardware filters available on the main board, which is another unique feature. There are little pins connected with a jumper piece. From my early testing it didn’t seem to make a huge difference. Upon further inspection, Simforge have seen that there were some improvements needed in the firmware and board itself. The newer board fixed these issues.
- Installation – Software
There is no software installation required for this pedal set, although calibration with DIView is recommended by Simforge. My personal opinion is that Assetto Corsa content manager makes calibration of ranges and deadzones much easier than DIView, and titles like iRacing don’t care about external calibration at all. iRacing reads the raw values from your pedals, so no amount of external calibration will change how iRacing reads these pedals’ inputs.
If you do use DIView, get your calculator out. There’s a little bit of setup in it which is all explained in the manual. There is a spreadsheet available from Simforge which makes it easier to calculate these values, but again, it’s not a plug and play experience. Once you do this, you never need to do it again, UNLESS you adjust your pedals. I’d love to see better software than DIView for this. There’s no reason that I can see that we need to write down any numbers ourselves. It’s obviously not THAT simple though, as there DIView still seems to be the software of choice for companies who do not provide their own software.
- Throttle
As mentioned, the throttle was far too light when I got these first. This needs to be tightened up from the factory and I’d actually like to see a stronger spring in there too. Adjusting the preload and the angle of the spring rod did help. I also adjusted the travel of the pedal using the simple yet clever travel adjustment mechanism as again, I feel that the default configuration has far too much travel. The width of the pedal is pretty perfect. There’s endless adjustment in the pedal face and I really love how it goes right from the baseplate all the way up past my toes. The lip on the base plate makes this a very comfortable driving position. Luckily the adjustments are available to make this throw far less.
- Clutch
I was a little nervous at first, when the pedal with the best feeling ‘out of the box’ was the clutch. The other pedals showed how adjustable they were and although I didn’t necessarily feel that the clutch needed adjustment, I did adjust it just to see how it differed in feeling. This clutch is confident and about as authentic as I expect a simple sim racing clutch to feel. Again, a great sized pedal face and the build quality is such that it withstands even the most enthusiastic of driving styles. I used it for drifting, rally and circuit racing and had absolutely no issues with it other than an initially noisy 3D Printed washer which was rubbing on the central rod. I believe that the noise came from a sharp edge which was left over after 3d printing. After about 2 weeks of use, this noise disappeared.
- Brake
This is the big one. As in, this brake is huge. The assembly for this pedal is longer than any other brake pedal I’ve ever used. In its default configuration, the brake was somewhat like a brake in a regular road car, only lighter. It featured lots of travel and gradually got heavier. Although my gut instinct told me to adjust the brake within 5 minutes of my first use, I did quite a bit of driving in this configuration and found it to be quite accurate but not the way I want a race car to feel. Further adjustment allowed me to make this brake feel every bit as good as any other high end brake I have ever used.
After much adjustment I finally settled on this configuration. Note that the softest elastomers are closest to the pedal as they compress most often. This makes for a smoother braking movement in my opinion. This pedal set comes with 6 elastomers and has a spring preinstalled. The spring is a little light compared to the elastomers and honestly, I would remove the spring right away if you want a high performance braking feel. If you prefer a more road car feel, the spring might be a good option for you. You can replace the spring with an elastomer as shown. Many will like the spring and wish that there were more spring resistance options available.
The 80kg load cell is great and it’s more than most will ever need. The 24-bit sensor sounds great but realistically, I would be also be perfectly happy with a 16-bit sensor and probably wouldn’t be able to tell the difference in a blind test. One drawback of having such a sensitive sensor is that it’s even more susceptible to interference from other devices on your rig, namely direct drive motors. The digital filters on the board are designed to help with this issue. Try to increase the brake filter before worrying about needing to ground your pedals or before ordering in a power supply.
The brake elastomer assembly features little cups whose main purpose is to stop excess travel which prevents excessive wear. These cups are 75% of elastomer length which is the point at which an elastomer loses its effectiveness and begins to deform. The cups touch to prevent excessive wear to your elastomers and also to pass 100% of the braking resistance on to the next elastomer. It is a very clever design which is becoming more popular in sim racing.
Technical jargon aside, this brake feels great once configured. If this is your first load cell brake or whether you’re upgrading from an entry or mid level load cell brake, you’ll be more than happy with what this pedal set has to offer. I imagine that even existing high end pedal set owners will be suitably impressed with the performance of this brake.
I did notice lateral movement in the brake pedal, but only when pressed. Occasionally this became quite distracting as it felt like there was something loose. This lateral movement cannot be fixed by tightening bolts and is something that Simforge is looking into. However, lateral movement is not uncommon even in real brake pedal box assemblies. It may be an issue for some people though.
- Base plate
This base plate should be a product in its own right. Many times in the past, my life would have been made so much easier if I just had one of these baseplates lying around. It’s so versatile and useful and has been by far the most comfortable baseplate I have ever experienced on a sim or in real life. Whether you’re using shoes or not, that baseplate is more than good enough to be a standalone sim racing product. It is world class and incredibly well thought out. It is sturdy and has absolutely no flex.
Comfort while sim racing is extremely important, not just for the casual sim racers, but also for those who want to try to avoid callused feet or dry skin. I know what you’re thinking. How did a pedals review turn into a foot skincare review. It may not be of concern to many of you watching this, but getting sore feet and cracked heels from sim racing is a real issue. This baseplate really helps to minimise that.
Note that being comfortable doesn’t mean that it impacts your performance negatively. In fact, I’d argue the opposite. Having your feet in the right position and angles saves you milliseconds which matter on track.
Access to the baseplate is good and the only issue I have is the inner nut that you need to hold with a spanner when installing or adjusting. That nut should be welded to the inside of the red plate prior to powder coating.
This baseplate does make pedals higher than what you might be used to. This is a consideration for those with rigs where you cannot adjust the height of the rig’s pedal tray.
On a final note for the baseplate, if these were staying on my rig longer term, I’d mount an LED strip near the logo at the front to really make it pop on my rig. In fact, if I were simforge, I’d provide an LED output on the circuitboard and charge an extra €20 for an optional LED kit.
- Final thought
It is amazing to see the passion and purpose of this product. Yes, it’s not perfect, but they have pushed the boundaries of cost and innovation to a new level. Two majorly innovative features include the baseplate and the ability to power the circuit board to eliminate signal noise. The baseplate being the biggest surprise for me. The powder coating is top quality and wears very well. There’s not a mark on my pedals after intensive use for the past 5 weeks.
The pedal faces are wide, long and incredibly adjustable. They’re functional and beautiful.
Simforge use 3D printed parts wherever they can in an effort to keep the cost of producing customs parts to a minimum. 3D printed parts are not for everyone, but I don’t have an issue with them when used cleverly like in this pedal set.
The level of adjustability is incredibly impressive. Although I do fear that so much adjustment can give way to things coming loose over time. Having said that, I didn’t experience any loosening of bolts in my extensive testing period. This is a compromise that manufacturers need to constantly weigh up but from my experience; the more adjustable a pedal set it, the more maintenance it needs. Ideally you would tighten all the bolts on these pedals again after about a month of use. Do also ensure that you have a can of PTFE spray nearby as any pedals like this can suffer from squeaks and creaks. I don’t think I’ve used a high end pedal set yet which doesn’t have some level of noise that needs attention. The 3D printed parts which rub the bars on your pedal assemblies will probably creak and squeak a bit when you initially get these. These noises have gotten a lot less or disappeared over time.
The 80kg load cell doesn’t sound as impressive as some of its far more expensive competitors but for most, 80kg will be more than enough. I have used many 200kg load cells and realistically, I think they’re overkill. The only way that I can tell the difference between an 80kg load cell and a 200kg load cell is by pushing the pedal harder than I ever would while in a sim.
The 24-bit sensor is impressive and super sensitive, but again, honestly, I can’t really tell the difference between this and a 16-bit sensor. I’m open to judgement on that. I do know that the majority of hobby sim racers will not know the differences either.
I’m saying all of this because what matters is how a set of pedals feels and performs, and although I have been sent this set for review, I could totally imagine myself buying them. They tick every single box you can imagine, even if they require a little bit more work to get set up the way you like them.
Pedals like this should carry a far higher price tag. They are exceptional value. The only negative is the software and calibration side of things. I really love having good pedals with amazingly sensitive sensors but any pedals which rely on DIView for calibration automatically feel a little like they’re using old technology. I don’t know how to explain it, but it’s another thing that takes away from using many high end pedal sets, not just these.
One unknown right now is how after sales support will work. Until there are local distributors, you may need to send your pedals all the way back to India if there are issues. However, as this is a very modular system, you don’t need to send the whole lot back. The heaviest parts are the least likely to fail here.
I would be incredibly happy for these pedals to be my forever pedals. They are the type of pedals that are really difficult to beat from a functionality point of view and of course, the price. Do note that the price is subject to shipping and import taxes and is likely to be higher. Seeing a new company enter the market always raises skepticism and question marks. New companies often underestimate their costs and we see the costs rise over time as they invest in new manufacturing processes and tooling.
I feel like these pedals were designed for me. Many of the things I love about good pedals have been incorporated into this design. If a company like Simforge can create these for this price then the future is incredibly bright for them and for sim racing. Any of the minor issues I have described are dampened by the price. If you’re on a budget and want to compete with the Heusinkvelds, Mecas and other pedals manufacturers of the world, this is your best chance.
This has been by far the most complex pedals review I have ever done. This suggests that there are some nuances to this product as well as it being jam packed with adjustability and functionality. I hope that you have enjoyed this review as much as I have enjoyed making it. I’m Laurence, and I’ll chat to ye later.